Zip Up Tray Pouch binding tutorial
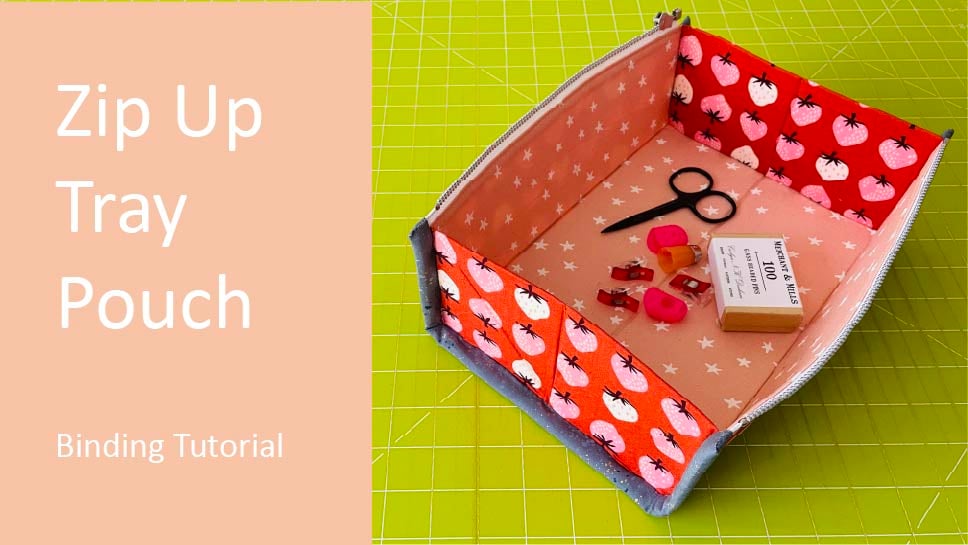

This is a tutorial for finishing the binding on my Zip Up Tray Pouch pattern. I have received many requests for a video tutorial for this step since I released my pattern in 2017 and I hope that you find it useful.
You can also use this technique for finishing binding on a couple of my other patterns such as Inside Outside Pouch and
In this video I guide you through the steps for finishing the binding, including plenty of tips to make the process easier. I explain the stitches I’m using in detail and demo these on both a 2 dimensional scrap piece of interfacing and on the pouch itself. I detail the tools you may find helpful and suggest how to practice the stitches on a scrap of interfacing before starting. You may find the stitch technique easier to view on the 2 dimensional scrap demo. Please refer back to this for reference.
Finishing the binding on this project is very similar to finishing the binding on a quilt. The main differences here are, the interfacing used for the project is more rigid and you are working on a 3 dimensional project rather than a 2 dimensional quilt. This step will be more enjoyable if you take your time and don’t try and rush through it. For best results, I advise you to pop on a favourite movie, get yourself a nice drink and take your time stitching to enjoy the process. It will be worth it!
Note on needle size: In the video, I select an embroidery needle from a mixed size pack of Clover embroidery needles (sizes 3-9). I estimate that the needle I select is approximately size 6 or 7. It’s hard to be exact as individual needles are not numbered. As I state in the video, it’s best to try out a range of sizes and see what works for you. A thick needle will struggle to go through the layers and a thin needle may snap. You want to use something in between that can manage the layers and be strong enough to handle them. You can use embroidery or sewing needles.
Please see Zip Up Tray Pouch pattern linked below for full details of materials needed for the project.
The tools and materials shown in the video are:
Clover gold eye embroidery needles (see note above)
Clover flexible rubber thimble in large size on my thumb
Flexible thimble on my forefinger is an unknown brand (lost the packaging, sorry!)
Clover protect and grip thimble on my middle finger
Binding clips - I’m not sure where I got the green ones but they seem a little stronger than the red ones
Aurifil 50 weight thread in color 6730 (medium grey)
Small needlecase shown is my Patchwork Needle Book pattern
Fabrics used in the demo pouch are Strawberry (exterior), Speckled (binding) and Starry (lining) all by Ruby Star Society
All other fabrics shown are from older collections designed by Aneela Hoey for Moda Fabrics
Please note that all tools and materials shown are my own. I have not been sponsored by anyone to show these in the video.
Thank you! to everyone who has purchased my pattern over the years. I appreciate your support!
Timestamp
00:00 Introduction
00:31 Hints and tips
02:42 Stitching demo on scrap interfacing/fabric
06:38 Starting pouch binding
09:21 Stitching side binding
11:49 Stitching corner binding
13:43 Stitching bottom binding
16:02 Finishing binding and thread colour
18:09 Other patterns tutorial works for